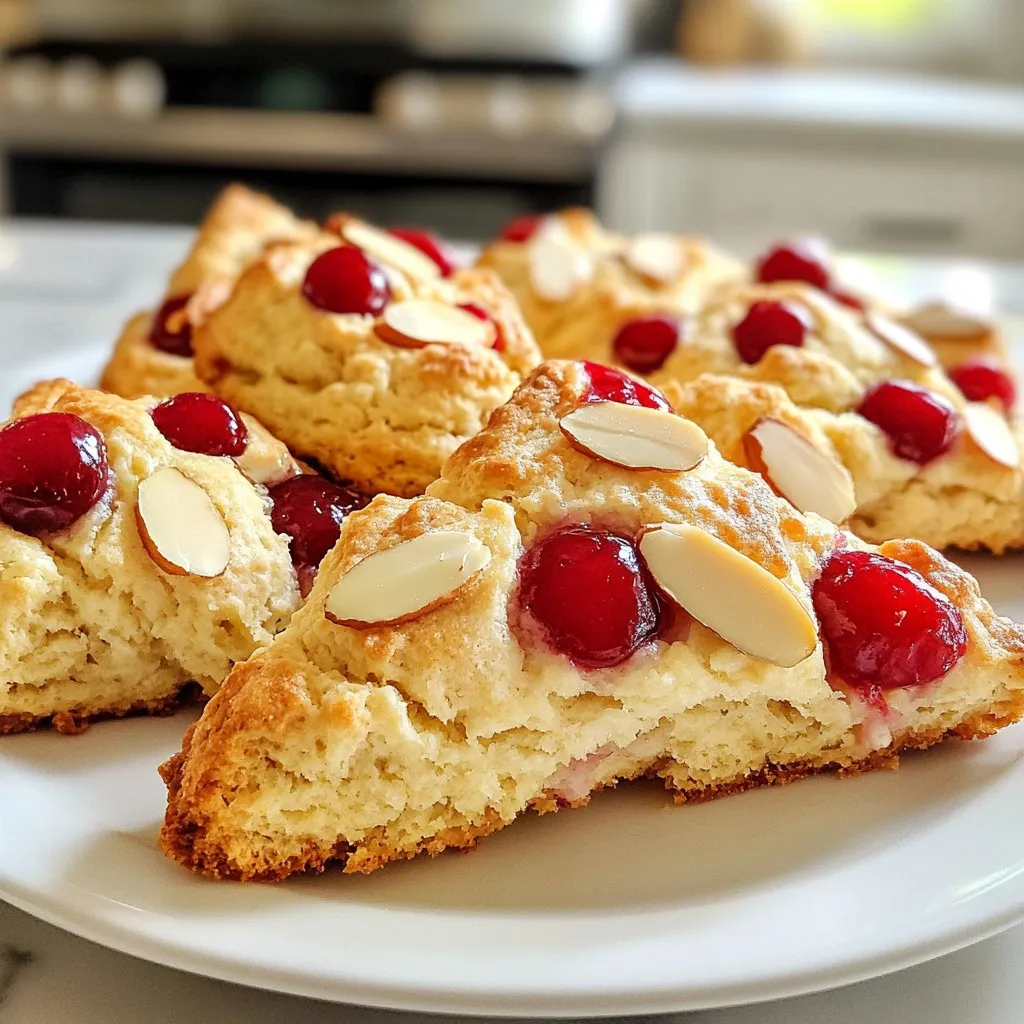
If you’re craving a warm, sweet treat, you’ll love these Cherry Almond Scones! They’re easy to make and perfect for breakfast or snack time. With just a handful of ingredients, you’ll create buttery scones packed with juicy cherries and crunchy almonds. Ready to impress your family and friends? Let’s dive into this simple recipe and get baking! Your kitchen will smell amazing, and your taste buds will thank you.
Why I Love This Recipe
- Delicious Flavor Combination: The sweet cherries paired with nutty almond extract create a delightful flavor that is perfect for breakfast or a snack.
- Easy to Make: This recipe is straightforward and requires minimal ingredients, making it accessible for home bakers of all skill levels.
- Perfectly Light and Fluffy: The combination of cold butter and heavy cream ensures that these scones are tender and fluffy, just the way scones should be.
- Versatile Serving Options: These scones can be enjoyed warm as is, or you can pair them with clotted cream or cherry preserves for an extra indulgent treat.
Ingredients
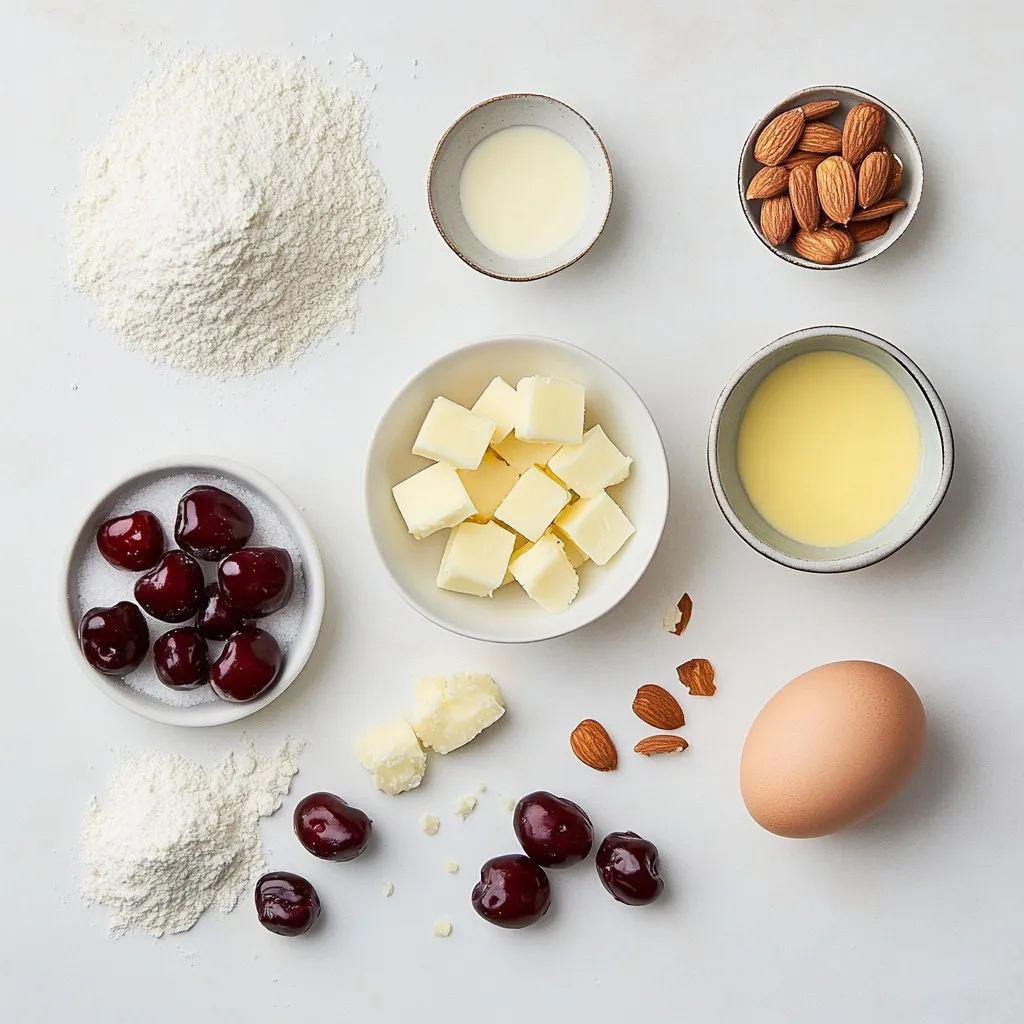
List of Ingredients for Cherry Almond Scones
– 2 cups all-purpose flour
– 1/4 cup granulated sugar
– 1 tablespoon baking powder
– 1/2 teaspoon salt
– 1/2 cup unsalted butter, cold and cubed
– 1/2 cup heavy cream
– 1 large egg
– 1 teaspoon almond extract
– 1 cup fresh or frozen cherries, pitted and halved
– 1/4 cup sliced almonds, plus extra for topping
– 1 egg wash (1 egg beaten with a splash of water)
You need fresh ingredients for the best flavor. I like using cold butter. It helps make the scones flaky. You can use either fresh or frozen cherries. Both taste great in scones. If you go for frozen cherries, just make sure to thaw and drain them first.
Granulated sugar adds sweetness, while almond extract gives a nice nutty flavor. Keep sliced almonds on hand for added crunch. Don’t skip the egg wash; it makes the scones golden and pretty.
Gather everything before you start baking. It makes the process smooth and enjoyable. Remember, using high-quality ingredients makes a huge difference in the final taste. Enjoy the simple joy of making these cherry almond scones!
Step-by-Step Instructions
Preheating and Preparing
– Step 1: Preheat your oven to 400°F (200°C). Line a baking sheet with parchment paper. This helps to keep the scones from sticking.
Mixing the Dry Ingredients
– Step 2: In a large bowl, combine 2 cups of flour, 1/4 cup of sugar, 1 tablespoon of baking powder, and 1/2 teaspoon of salt. Whisk them together until they are well mixed.
Incorporating Butter
– Step 3: Add 1/2 cup of cold, cubed butter to the flour mixture. Use your fingers or a pastry cutter to work the butter in. Stop when the mix looks like coarse crumbs.
Preparing the Wet Mixture
– Step 4: In another bowl, whisk together 1/2 cup of heavy cream, 1 large egg, and 1 teaspoon of almond extract. Make sure the mixture is smooth and well combined.
Combining Ingredients
– Step 5: Slowly pour the wet mixture into the dry mix. Stir gently with a spatula or wooden spoon. Combine until you see no dry flour, but do not overmix.
Adding Cherries and Almonds
– Step 6: Fold in 1 cup of halved cherries and 1/4 cup of sliced almonds. Mix gently to spread them throughout the dough without smashing the fruit.
Shaping and Baking
– Step 7: Turn the dough onto a lightly floured surface. Knead it gently to form a ball. Divide the dough into two equal parts. Shape each part into a disc about 1 inch thick. Cut each disc into 6 wedges.
– Step 8: Place the wedges on the prepared baking sheet, leaving space between them. Brush the tops with an egg wash made from 1 beaten egg and a splash of water. Sprinkle extra sliced almonds on top for crunch.
– Step 9: Bake the scones in the preheated oven for 15-20 minutes. They should be golden brown when done. A toothpick inserted in the center should come out clean.
Tips & Tricks
Perfecting the Scone Texture
To make soft and light scones, avoid overmixing the dough. When you combine the wet and dry ingredients, mix gently. You want to see some flour still visible. Overmixing makes the scones tough. The key is to blend until just combined.
Flavor Enhancements
You can boost the flavor of your scones by adding lemon zest or vanilla extract. A bit of lemon zest gives a fresh taste. Vanilla adds warmth and richness. Just a teaspoon of either will enhance the overall flavor without overpowering the cherries and almonds.
Serving Suggestions
These scones taste best warm. Serve them with clotted cream or cherry preserves. The cream adds richness, and the preserves bring extra cherry flavor. You can also enjoy them with a cup of tea or coffee for a delightful snack.
Pro Tips
- Use Cold Ingredients: Ensure your butter and cream are cold to achieve flaky scones. Cold butter creates air pockets when baking, leading to a light and airy texture.
- Don’t Overmix: When combining wet and dry ingredients, mix just until incorporated. Overmixing can result in tough scones, so be gentle!
- Try Different Fruits: Experiment with seasonal fruits like blueberries, raspberries, or even dried fruits for a unique twist on the classic scone recipe.
- Storing Scones: If you have leftovers, store them in an airtight container at room temperature for up to 2 days. For longer storage, freeze them in a single layer and transfer to a bag for up to a month.
Variations
Different Fruits
You can switch up the fruit in your scones. If you love blueberries, they work great! Raspberries also add a nice tartness. Just use one cup of your chosen fruit. It keeps the recipe fun and fresh.
Nut Alternatives
If you want a twist, try different nuts. Walnuts add a nice crunch and flavor. Pecans are another good choice; they bring a sweet taste. Just swap out the sliced almonds for your favorite nut.
Gluten-Free Option
For a gluten-free twist, swap all-purpose flour. Use a gluten-free flour blend instead. Make sure it includes xanthan gum for the best texture. This change allows everyone to enjoy these tasty scones!
Storage Info
Storing Leftover Scones
To keep leftover scones fresh, place them in an airtight container. This helps prevent them from drying out. You can store them in the fridge for up to three days. If you want to keep them longer, consider freezing.
Freezing Instructions
You can freeze both unbaked and baked scones. For unbaked scones, place them on a baking sheet and freeze until firm. Then, transfer them to a freezer bag. They will last up to three months. For baked scones, cool them completely before wrapping them tightly in plastic wrap and placing them in a freezer bag.
Reheating Tips
To reheat scones, use the oven for the best results. Preheat your oven to 350°F (175°C). Place the scones on a baking sheet and warm them for about 10 minutes. You can also use a microwave, but this may make them a bit soggy. If using the microwave, heat for about 15-20 seconds. Enjoy your warm scones!
FAQs
Can I use frozen cherries?
Yes, you can use frozen cherries! They work well in scones. Just remember to thaw them first. Pat them dry with a paper towel to remove excess moisture. This helps prevent a soggy dough. Fresh cherries offer a bright taste, while frozen ones are often sweeter. Both options are tasty, so choose what you have!
How do I know when the scones are done baking?
To check if your scones are done, look for a golden brown color. They should be firm to the touch. Insert a toothpick into the center; it should come out clean. If you see wet dough on the toothpick, they need more time. Keep an eye on them in the last few minutes of baking!
Can I make the dough ahead of time?
Yes, you can make the dough ahead! Prepare it and shape it into discs. Wrap the discs tightly in plastic wrap and store them in the fridge. They can stay fresh for up to two days. When you’re ready, slice them and bake as usual. This saves you time on busy mornings!
What can I substitute for heavy cream?
If you need a substitute for heavy cream, try whole milk mixed with butter. Use 1/4 cup of butter and add enough milk to make 1/2 cup total. Another option is using yogurt or sour cream. These alternatives can give your scones a rich flavor and moist texture.
Cherry almond scones are a delightful treat you can make at home. We covered the key ingredients and step-by-step instructions to create these scones. I shared tips, variations, and storage methods to enhance your baking experience. Always remember, the perfect scone comes from careful mixing and a few personal tweaks. Enjoy them warm with your favorite toppings. Now, you have all the tools to impress your friends and family. Happy bakin