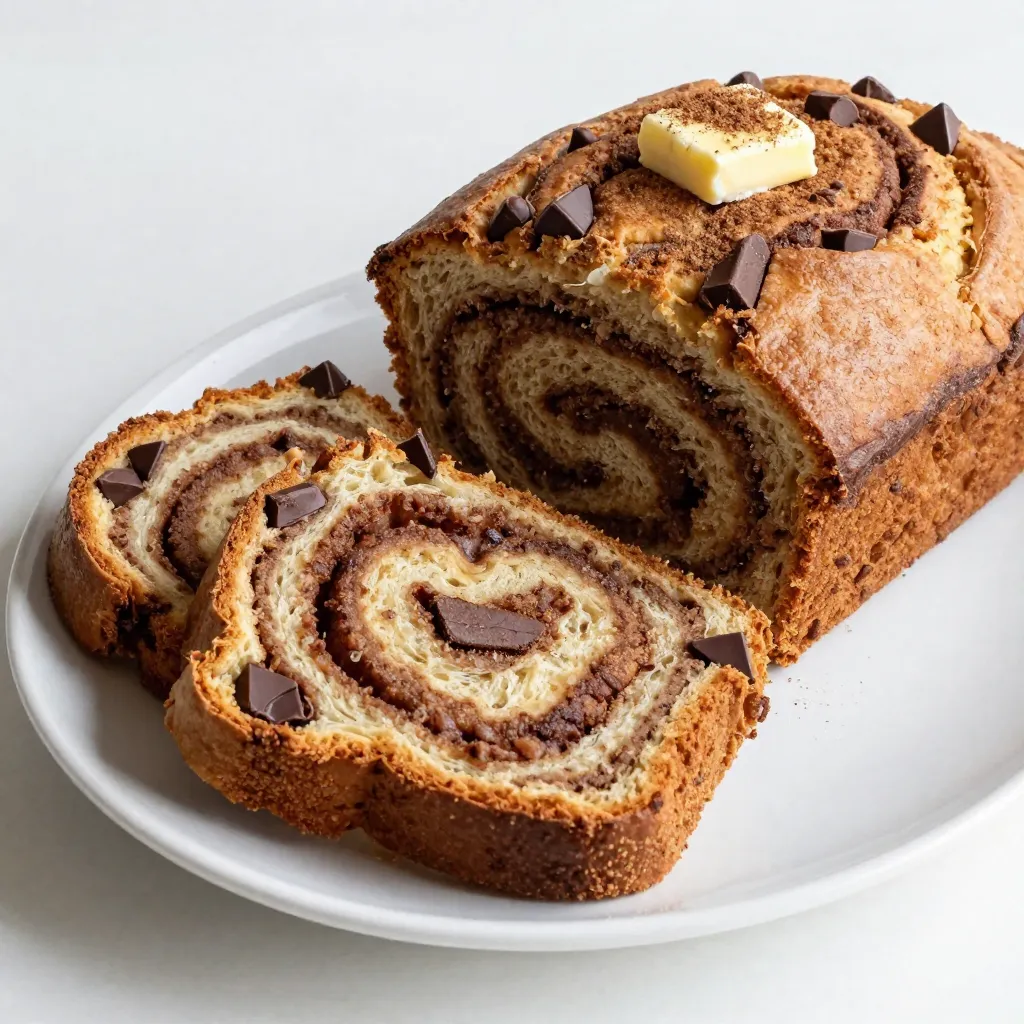
Cinnamon Swirl Chocolate Chip Bread is a delightful treat that’s easy to bake. Imagine biting into warm, fluffy bread swirled with cinnamon and chocolate. In this article, I’ll guide you through each step, from gathering ingredients to baking the perfect loaf. You’ll learn useful tips to make your baking experience smooth and fun. So grab your apron, and let’s create a sweet masterpiece together!
Why I Love This Recipe
- Delicious Combination: The rich chocolate chips paired with the warm cinnamon create a heavenly flavor that is perfect for any occasion.
- Easy to Make: With simple ingredients and straightforward steps, this recipe is accessible for bakers of all skill levels.
- Perfect for Sharing: This loaf makes about 10 slices, making it ideal for sharing with family and friends or for a cozy brunch.
- Versatile Enjoyment: Enjoy it warm, toasted, or even with a drizzle of glaze; this bread is delightful at any time of day.
Ingredients
Dry Ingredients
– 2 cups all-purpose flour
– 1 cup granulated sugar
– 1 tablespoon baking powder
– 1/2 teaspoon salt
– 1 teaspoon ground cinnamon
Wet Ingredients
– 1/2 cup unsalted butter, softened
– 2 large eggs
– 1 cup buttermilk (or milk plus vinegar)
– 1 teaspoon pure vanilla extract
Additional Ingredients
– 1 cup semi-sweet chocolate chips
– 1/4 cup brown sugar (for the cinnamon swirl)
– 1 tablespoon ground cinnamon (for the cinnamon swirl)
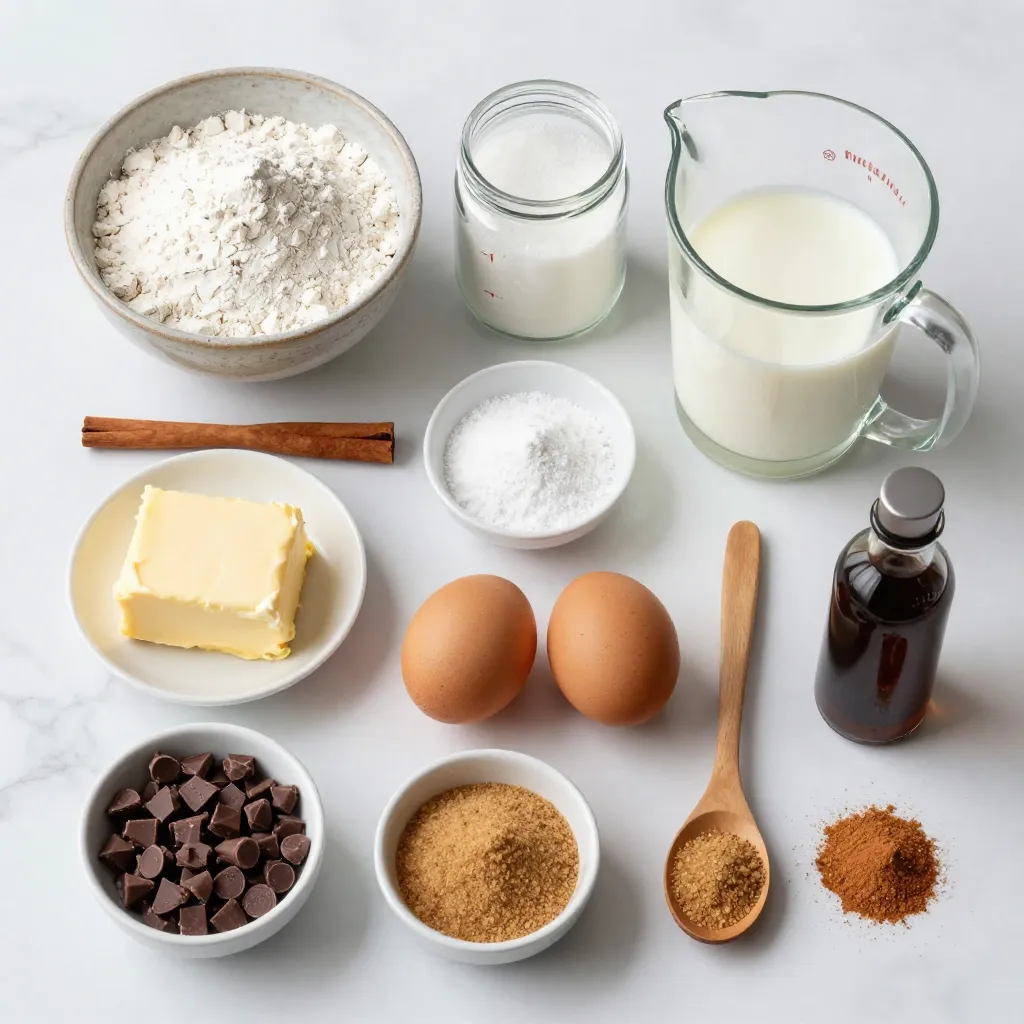
Gathering the right ingredients is key to making the best cinnamon swirl chocolate chip bread. Start with the dry items. You’ll need all-purpose flour, granulated sugar, baking powder, salt, and ground cinnamon. Each of these adds flavor and texture to our bread.
Next, we focus on the wet ingredients. Use unsalted butter that’s soft. This helps it mix well. The two large eggs will help bind everything together. For moisture, we use buttermilk, but you can easily make your own with milk and vinegar. Lastly, add pure vanilla extract for a warm flavor boost.
Don’t forget the stars of our recipe—the chocolate chips! Semi-sweet ones give that perfect chocolatey taste. To create the cinnamon swirl, mix brown sugar and ground cinnamon. This mix will make each slice a delightful surprise. Each ingredient plays a role in creating a treat that’s both easy and tasty!
Step-by-Step Instructions
Prepping the Oven and Pan
1. Preheat your oven to 350°F (175°C). This step is key for even baking.
2. Grease a 9×5 inch loaf pan with butter or cooking spray. This helps the bread come out easily.
Mixing Ingredients
1. In a large bowl, add the dry ingredients:
– 2 cups all-purpose flour
– 1 cup granulated sugar
– 1 tablespoon baking powder
– 1/2 teaspoon salt
– 1 teaspoon ground cinnamon
Whisk together until mixed well. Set this bowl aside.
2. In a medium bowl, cream the softened butter and granulated sugar together. Use an electric mixer for 2-3 minutes. The mix should be light and fluffy.
3. Add 2 large eggs one at a time. Mix well after each egg. Then pour in 1 cup of buttermilk and 1 teaspoon of pure vanilla extract. Mix until smooth.
Final Preparations and Baking
1. Gradually add the dry mix to the wet mix. Stir gently with a spatula. Don’t over-mix! This keeps your bread tender.
2. Carefully fold in 1 cup of semi-sweet chocolate chips. Make sure they are evenly spread in the batter.
3. In a small bowl, mix together 1/4 cup of brown sugar and 1 tablespoon of ground cinnamon for the swirl.
4. Pour half of the batter into the greased loaf pan. Sprinkle half of the cinnamon-sugar mix on top.
5. Add the rest of the batter and top with the remaining cinnamon-sugar mix.
6. Use a butter knife or skewer to swirl the batter gently. You want to see nice cinnamon swirls, not a mixed-up batter.
7. Place the loaf pan in the oven. Bake for 50-60 minutes. A toothpick should come out clean or with a few crumbs.
8. When done, let the bread cool in the pan for about 10 minutes. Then, move it to a wire rack to cool completely before slicing.
Tips & Tricks
Achieving the Perfect Texture
To get the best texture, avoid over-mixing. Mixing too long can make the bread tough. Stir just until the flour blends with the wet mix. This keeps your bread light and soft.
If you don’t have buttermilk, don’t fret. You can mix 1 cup of milk with 1 tablespoon of vinegar. Let it sit for 5 minutes. This simple swap works great in recipes.
Enhancing Flavor and Presentation
You can change up the chocolate chips for fun. Try milk chocolate or even white chocolate. Each brings a unique taste to your bread.
For serving, slice your bread and arrange it on a pretty plate. You can drizzle melted chocolate on top. A sprinkle of cinnamon adds a nice touch too. Warm bread tastes amazing, especially toasted.
Baking Storage Tips
Cooling your bread properly is key. After baking, let it sit in the pan for about 10 minutes. Then, move it to a wire rack. This helps keep the bread from getting soggy.
To store your bread, wrap it in plastic wrap. It stays fresh on the counter for about 3 days. For longer storage, consider freezing it. Just slice it first for easy use later.
Pro Tips
- Use Room Temperature Ingredients: Ensure that your butter and eggs are at room temperature for better incorporation into the batter, resulting in a lighter texture.
- Don’t Over-Mix: When combining the wet and dry ingredients, mix just until combined to avoid a dense bread. A few lumps are okay!
- Chocolate Chip Choice: Feel free to mix chocolate chip varieties, such as milk chocolate or dark chocolate, to customize the flavor profile of your bread.
- Storing the Bread: This bread stays fresh for several days at room temperature or can be frozen for up to 3 months. Wrap it tightly to prevent freezer burn.
Variations
Ingredient Swaps
You can make small changes to this recipe to suit your taste.
– Using whole wheat flour: Swap half of the all-purpose flour for whole wheat flour. This adds fiber and a nutty flavor.
– Alternative sweeteners: Try using honey or maple syrup instead of granulated sugar. Adjust the liquid in the recipe slightly to balance it out.
Flavor Additions
Mix in fun flavors to make this bread your own.
– Nuts or fruit variations: You can add chopped walnuts or pecans for crunch. Dried fruits like raisins or cranberries also work well.
– Using dark chocolate chips: For a richer taste, swap semi-sweet chocolate chips for dark chocolate chips. It adds depth to the sweet flavor.
Seasonal Twists
Change the bread for special occasions and seasons.
– Pumpkin spice version: Add 1 cup of pumpkin puree and a teaspoon of pumpkin spice to the batter. This gives a cozy fall flavor.
– Festive holiday variations: For the holidays, mix in a teaspoon of orange zest or use peppermint extract. This will make your bread festive and fresh.
Storage Info
Short-term Storage
– Room temperature storage: Keep the bread in a cool, dry place. Use a breadbox or wrap it in plastic wrap. It stays fresh for about 3-4 days.
– Refrigerator storage: If you prefer, store the bread in the fridge. This can help it last a bit longer, about a week. Just wrap it well to avoid dryness.
Long-term Storage
– Freezing options: For longer storage, freeze the bread. Slice it first for easy access. Wrap each slice in plastic wrap, then place them in a freezer bag. It can last up to 3 months in the freezer.
– Thawing instructions: To thaw, take out a slice and leave it at room temperature for about 30 minutes. You can also use the microwave for a quick thaw. Heat for about 15-20 seconds.
Reheating Tips
– Best methods for reheating: Use the oven for the best taste. Preheat to 350°F (175°C). Place the bread in for about 10-15 minutes. This warms it nicely and keeps it soft.
– Re-crisping instructions: If the crust feels soft, you can re-crisp it. Use a toaster or a hot skillet for a few minutes. This adds a nice crunch to your bread.
FAQs
Common Questions
Can I make this recipe gluten-free?
Yes, you can! Use a gluten-free flour mix instead of all-purpose flour. Make sure it has a good binding agent, like xanthan gum. This change keeps the texture nice and moist.
How can I make it dairy-free?
To make this bread dairy-free, swap the buttermilk for a non-dairy milk. Almond milk or soy milk works well. Add a little vinegar like in the recipe. This gives the same tangy flavor.
What can I do if I don’t have buttermilk?
If you lack buttermilk, mix 1 cup of milk with 1 tablespoon of vinegar. Let it sit for 5 minutes. This creates a simple homemade buttermilk substitute.
Baking Queries
How do I know when the bread is done?
Check if it is done by inserting a toothpick into the center. If it comes out clean or with a few moist crumbs, it is ready. If not, bake for a few more minutes.
Can I make mini loaves instead?
Yes, you can! Just divide the batter into smaller pans. Check the baking time, as mini loaves take less time to bake. Start checking at 30 minutes.
What is the best way to store leftovers?
To store leftovers, wrap the bread tightly in plastic wrap. You can also use foil. Keep it at room temperature for a few days. For longer storage, freeze it.
Recipe Adjustments
How to increase or decrease servings?
To change servings, simply adjust the ingredients. If you want more bread, double the recipe. For less, halve it. Keep the ratios the same for best results.
Can I use a different pan size?
Yes, you can use a different pan size. Just keep in mind that baking times may vary. A smaller pan may bake faster, while a larger one may take longer.
This blog post covers everything you need to bake a delicious loaf of bread. We discussed the key ingredients and step-by-step instructions to guide your baking journey. You learned tips for texture and flavor enhancements and explored various ingredient swaps and seasonal twists.
With proper storage methods and answers to common questions, you now have the tools to succeed. Happy baking, and enjoy every bite of your homemade creatio