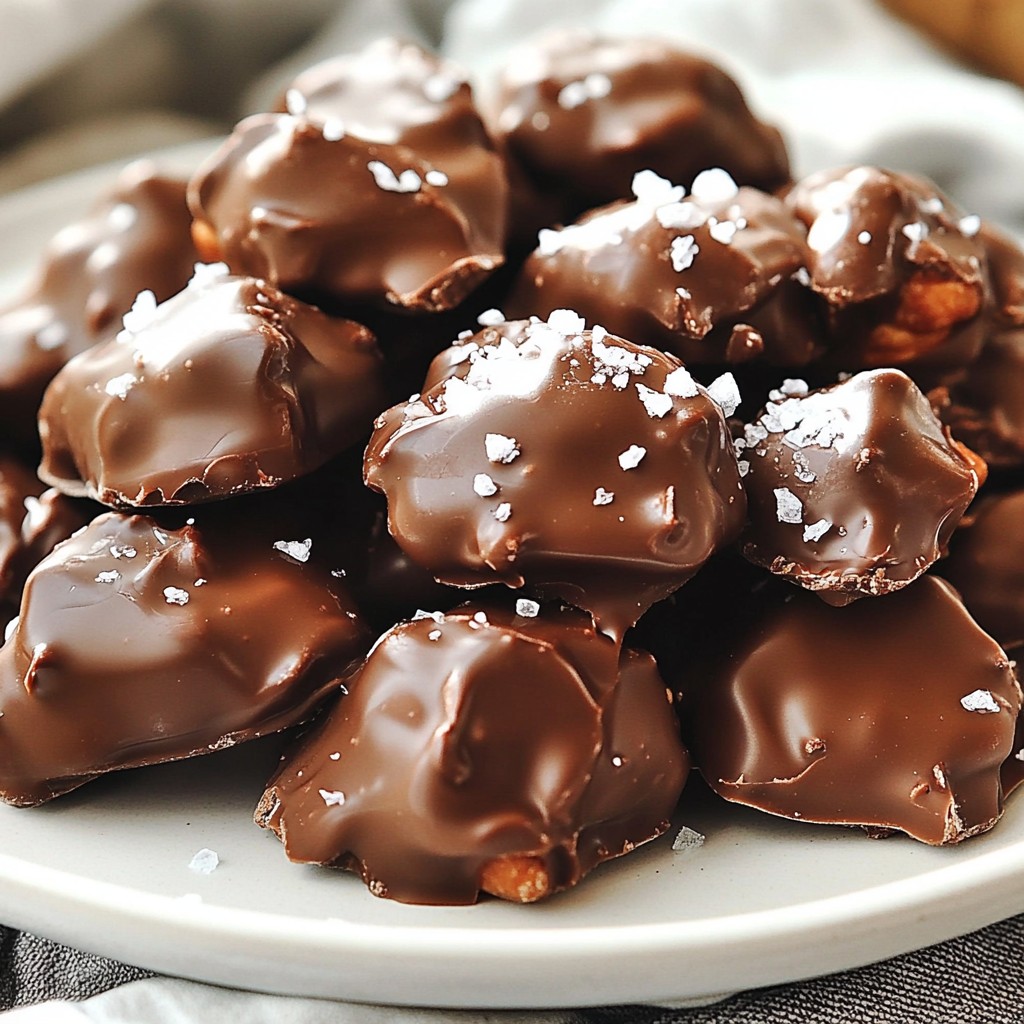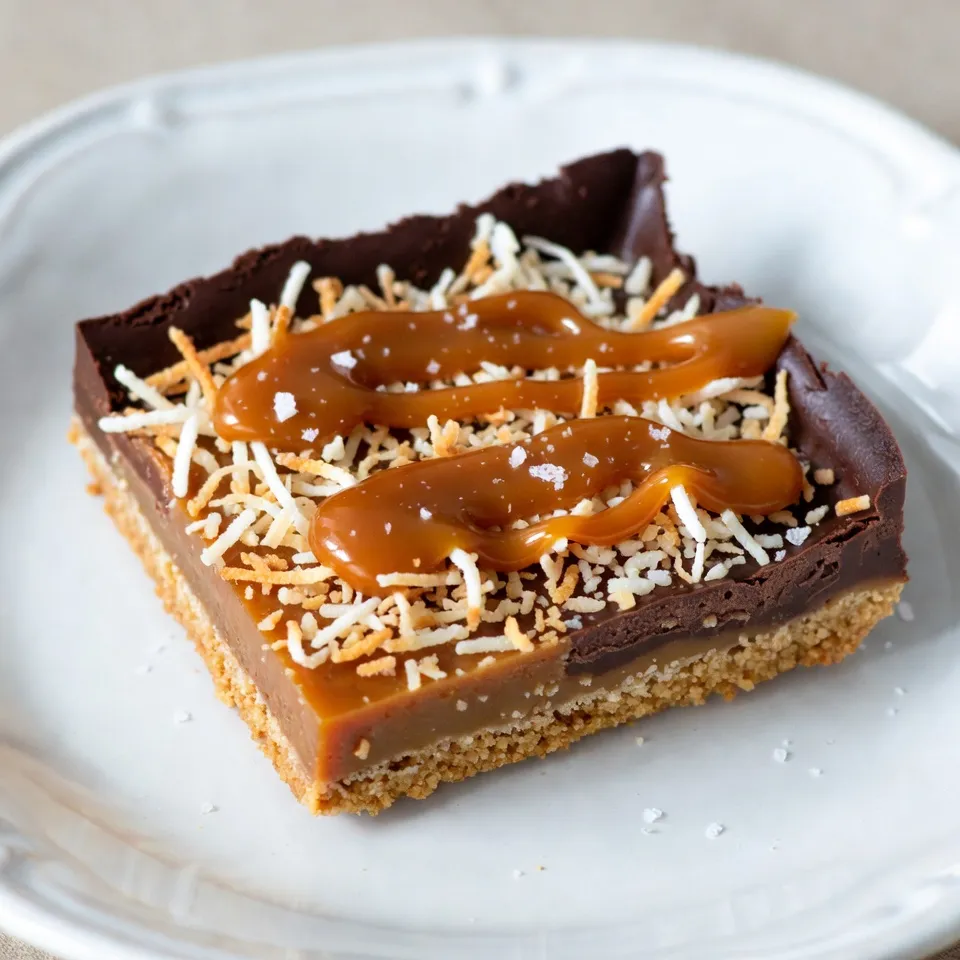
Get ready to satisfy your sweet tooth with these No-Bake Samoa Cookie Bars! This easy recipe combines rich flavors of chocolate, coconut, and caramel to create a treat that’s hard to resist. With simple ingredients and no baking required, you’ll whip up these delicious bars in no time. Let’s dive into the world of no-bake treats and learn how to make these bars from scratch!
Why I Love This Recipe
- Easy to Make: This recipe requires no baking, making it a quick and simple treat to whip up any time you crave something sweet.
- Decadent Layers: The combination of chocolate, caramel, and coconut creates an irresistible flavor profile that satisfies every sweet tooth.
- Perfect for Sharing: These bars are easy to cut into squares, making them perfect for parties, potlucks, or simply sharing with friends and family.
- Customizable: You can easily add your own twist by including nuts, different chocolates, or an extra layer of flavor to suit your preferences.
Ingredients
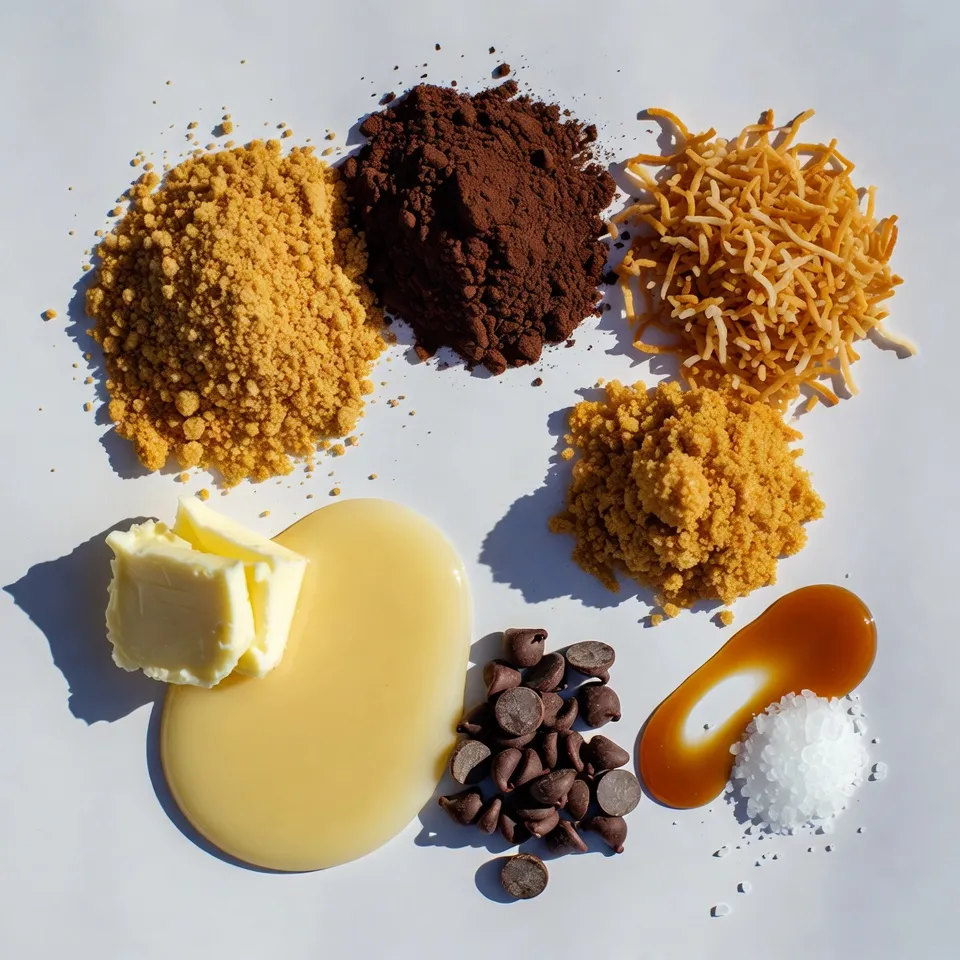
List of Ingredients
– 1 ½ cups graham cracker crumbs
– ½ cup unsweetened cocoa powder
– ½ cup unsweetened shredded coconut, toasted
– ½ cup brown sugar, packed
– ½ cup unsalted butter, melted
– 1 cup sweetened condensed milk
– 1 cup semi-sweet chocolate chips
– ¼ cup caramel sauce
– 1 teaspoon vanilla extract
– Sea salt for garnish
To make these No-Bake Samoa Cookie Bars, gather all your ingredients first. This way, you stay organized and focused. Start with graham cracker crumbs. They give the bars a nice base. Cocoa powder adds a rich chocolate flavor. Shredded coconut gives that classic Samoa taste.
Next, brown sugar adds sweetness. Unsalted butter helps hold the base together. Sweetened condensed milk creates a creamy filling. Semi-sweet chocolate chips will be our topping. Caramel sauce gives a nice gooey texture. Lastly, vanilla extract adds depth to the flavor.
Don’t forget the sea salt! A pinch on top makes the flavors pop. This mix of ingredients makes the bars delicious and fun. You can even customize some ingredients if you want.
Step-by-Step Instructions
Preparing the Base
To start, gather your dry ingredients. In a large bowl, mix together the graham cracker crumbs, unsweetened cocoa powder, toasted shredded coconut, and brown sugar. Next, add the melted butter. Use a spatula or your hands to blend everything. You want the mixture to feel like wet sand. Make sure there are no dry spots left.
Forming the Crust
Now, we need to prepare the baking dish. Line an 8×8-inch dish with parchment paper. Let some paper hang over the sides for easy removal. Take the crumb mixture and press it firmly into the bottom of the dish. Ensure it is even and compact. This creates a solid base for your bars.
Creating the Filling
In another bowl, whisk together the sweetened condensed milk, caramel sauce, and vanilla extract. Keep mixing until the mixture is smooth. For a stronger coconut flavor, fold in an extra ¼ cup of toasted coconut. This will make your filling even more delicious and rich.
Layering the Filling
Next, pour the caramel coconut mixture over the crust. Use a spatula to carefully spread it evenly. Make sure to reach the edges so every bite is tasty. This layer adds sweetness to balance the chocolate.
Melting the Chocolate
For the topping, place the semi-sweet chocolate chips in a microwave-safe bowl. Heat them in the microwave for 30 seconds at a time. Stir after each interval until the chocolate is fully melted and smooth. Be cautious not to overheat it as this can ruin the texture.
Topping and Chilling
Once your chocolate is melted, pour it over the caramel layer. Use a spatula to spread the chocolate evenly across the top. If you want, drizzle some extra caramel sauce over the melted chocolate for a nice touch. Let the bars sit at room temperature for about 10 minutes, then chill them in the fridge for at least 2 hours. This will ensure they set properly.
Serving the Bars
When the bars are ready, use the overhanging parchment paper to lift them out of the dish. Place them on a cutting board and slice them into squares. For a lovely finish, sprinkle a pinch of sea salt on top before serving. This adds a nice contrast to the sweet flavors.
Tips & Tricks
Best Practices for Mixing
To get the right texture for your no-bake bars, mix well. Start with the graham cracker crumbs, cocoa powder, shredded coconut, brown sugar, and melted butter. Use your hands or a spatula to blend until it feels like wet sand. Make sure there are no dry bits. This helps the crust hold together well. If you see lumps in your filling, whisk it more. A smooth filling makes for better bars.
Chocolate Melting Tips
When melting chocolate, use a microwave-safe bowl. Heat the chocolate chips in 30-second bursts. Stir after each burst to check the texture. This way, you avoid burning the chocolate. If you prefer, you can melt chocolate on the stove. Just use a heat-safe bowl over simmering water. This method keeps the chocolate warm and smooth.
Perfect Chilling Techniques
Chill your bars for at least 2 hours. This helps them set perfectly. If you want quicker results, place them in the freezer for about 30 minutes. Just make sure not to freeze them too long. When they feel firm to the touch, they are ready to slice. Enjoy your delicious no-bake Samoa cookie bars!
Pro Tips
- Use Fresh Ingredients: Ensure your shredded coconut and chocolate chips are fresh for the best flavor and texture in your bars.
- Chill Properly: Allow the bars to chill in the refrigerator for at least 2 hours to ensure they set properly and can be cut into neat squares.
- Even Layering: When spreading the caramel coconut filling, make sure to reach the edges of the crust for a visually appealing finish.
- Garnish Creatively: Enhance your presentation by garnishing with extra toasted coconut and a drizzle of caramel before serving.
Variations
Flavor Swaps
You can change the chocolate type. Use dark chocolate for a richer taste. Try milk chocolate for a sweeter treat. You can also add flavors like almond or peppermint. A few drops of almond extract boost the flavor. Peppermint extract brings a fun holiday vibe. Both options can make your bars special.
Ingredient Substitutions
If you need gluten-free options, use gluten-free graham crackers. They work just as well in the crust. For a dairy-free version, swap unsalted butter with coconut oil. Use almond or soy milk instead of regular milk. These changes keep the taste yummy and true to the recipe.
Additional Toppings
To add texture, try sprinkles or nuts on top. Chopped nuts give a nice crunch. You can also serve with coconut whipped cream. It adds a light and airy feel to the bars. These toppings can make each bite even more delightful.
Storage Info
Best Storage Practices
To keep your No-Bake Samoa Cookie Bars fresh, start by storing them in the refrigerator. This helps them stay firm and tasty. Use an airtight container to avoid drying out. You can also wrap them tightly in plastic wrap before placing them in the container. This extra layer keeps out air and moisture.
Freezing the Cookie Bars
If you want to store the bars longer, freezing is a great option. Cut the bars into squares before freezing. Place them in a single layer on a baking sheet to freeze for about an hour. Once frozen, transfer them to an airtight container or freezer bag. This way, they won’t stick together. When you’re ready to enjoy them, thaw the bars in the fridge overnight. This helps keep their texture smooth and delicious.
Shelf Life
These cookie bars can last about one week in the fridge if stored properly. If frozen, they can last up to three months. Check for signs that they are no longer good. If you see any mold or the bars smell off, it’s best to discard them. Enjoy your treats while they are fresh and tasty!
FAQs
Can I make these No-Bake Samoa Cookie Bars ahead of time?
Yes, you can make these bars ahead of time. They taste great after a day in the fridge. This lets the flavors blend well. Just cover them tightly to keep them fresh. You can enjoy them for up to a week!
What can I use if I don’t have graham crackers?
If you don’t have graham crackers, you can use cookies like Digestive biscuits or vanilla wafers. You can also use crushed oats or even shortbread cookies. Just make sure they are a good base for your bars.
How do I cut these bars neatly?
To cut these bars neatly, chill them well. Once they are firm, lift them out using the parchment paper. Use a sharp knife to slice. Wipe the knife with a damp cloth between cuts for clean edges.
Can I add nuts to the recipe?
Yes, you can add nuts! Chopped pecans or walnuts work well. Just mix them into the filling or sprinkle them on top. This adds crunch and flavor to your bars.
Is there a vegan option for this recipe?
You can make a vegan version easily. Use vegan butter instead of regular butter. Replace sweetened condensed milk with coconut cream or a plant-based substitute. Ensure your chocolate chips are dairy-free too. This way, everyone can enjoy these delicious bars!
You now know how to make delicious No-Bake Samoa Cookie Bars. We covered each step, from mixing ingredients to serving tips. Whether you want to add your own flavors or store leftovers, this recipe is easy to follow. Remember, baking should be fun! Experiment with the ingredients to find your favorite mix. Enjoy sharing these tasty treats with friends and family. You’ll impress everyone with these simple yet delightful bar