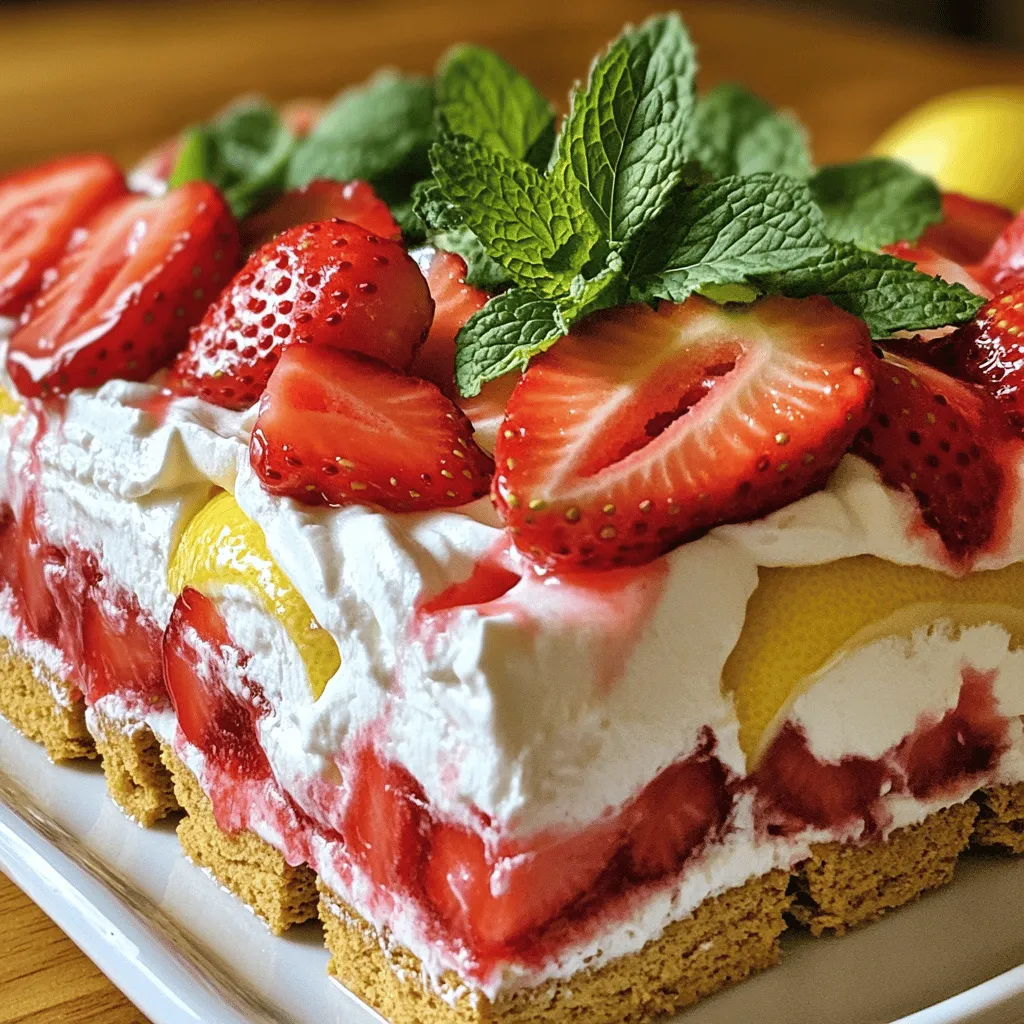
Looking for a sweet escape this summer? Try my Strawberry Lemon Icebox Cake! This no-bake dessert layers fresh strawberries, whipped cream, and a creamy lemon mixture between crunchy graham crackers. It’s light, refreshing, and perfect for hot days. Plus, it’s easy to make! Join me as we dive into the delightful world of this summer treat and learn step-by-step how to impress your friends and family. Let’s get started on your new favorite dessert!
Ingredients
List of Main Ingredients
– 2 cups fresh strawberries, hulled and sliced
– 1 cup heavy whipping cream
– 8 ounces cream cheese, softened to room temperature
– 1 cup powdered sugar, divided
These main ingredients create a rich and creamy base for your cake. The fresh strawberries add a burst of flavor that balances well with the creamy filling. Heavy cream gives the dessert a light and fluffy texture.
Additional Ingredients
– 1 teaspoon pure vanilla extract
– 1 tablespoon lemon zest (from about 1 lemon)
– 1/4 cup fresh lemon juice (about 1 lemon)
– 1 package (14 ounces) graham crackers
– Fresh mint leaves for garnish (optional)
The lemon zest and juice bring a bright, tangy taste. Vanilla adds depth to the creamy filling. Graham crackers serve as the base, providing a crunchy layer. You can add fresh mint for a pop of color and extra freshness.
Step-by-Step Instructions
Preparation Steps
– Preparing the Strawberries
Start by hulling and slicing 2 cups of fresh strawberries. In a bowl, toss the sliced strawberries with 1/4 cup of powdered sugar. Let them sit for 15 minutes. This helps the strawberries release their sweet juices.
– Whipping the Cream
In a large bowl, pour 1 cup of heavy whipping cream. Use an electric mixer to beat it until stiff peaks form. Don’t overwhip; otherwise, you may end up with butter.
Mixing Ingredients
– Making the Cream Cheese Mixture
In another bowl, combine 8 ounces of softened cream cheese with 3/4 cup of powdered sugar, 1 tablespoon of lemon zest, 1/4 cup of fresh lemon juice, and 1 teaspoon of pure vanilla extract. Mix until it is smooth and creamy, free of lumps.
– Folding in Whipped Cream
Gently fold the whipped cream into the cream cheese mixture. Use a spatula to combine them, aiming for a light and fluffy filling. This step is essential for creating a delicious cake.
Assembling the Cake
– Layering Grahams and Fillings
Grab a 9×13 inch baking dish. Place a layer of graham crackers at the bottom. Spread half of the lemon filling mixture over the graham crackers. Then, layer half of the macerated strawberries, making sure to include their juices.
– Final Chilling
Add another layer of graham crackers, then the rest of the lemon filling, followed by the remaining strawberries. Top with a final layer of graham crackers. Cover the dish with plastic wrap and refrigerate it for at least 4 hours, or overnight for the best flavor.
Tips & Tricks
How to Perfect the Whipped Cream
– Avoiding Overwhipping: Whipping cream is tricky. If you whip too long, it turns to butter. Stop when you see soft peaks. This will keep the cream light and fluffy.
– Achieving Stiff Peaks: For stiff peaks, whip until the cream holds its shape. Use a cold bowl and cold beaters. This helps the cream whip faster and better.
Storing Leftovers
– Best Practices for Refrigeration: Cover the cake tightly with plastic wrap. This keeps it fresh and prevents it from absorbing other fridge smells.
– Duration for Freshness: You can eat the cake for three to four days. After that, the texture may change, and it may not taste as good.
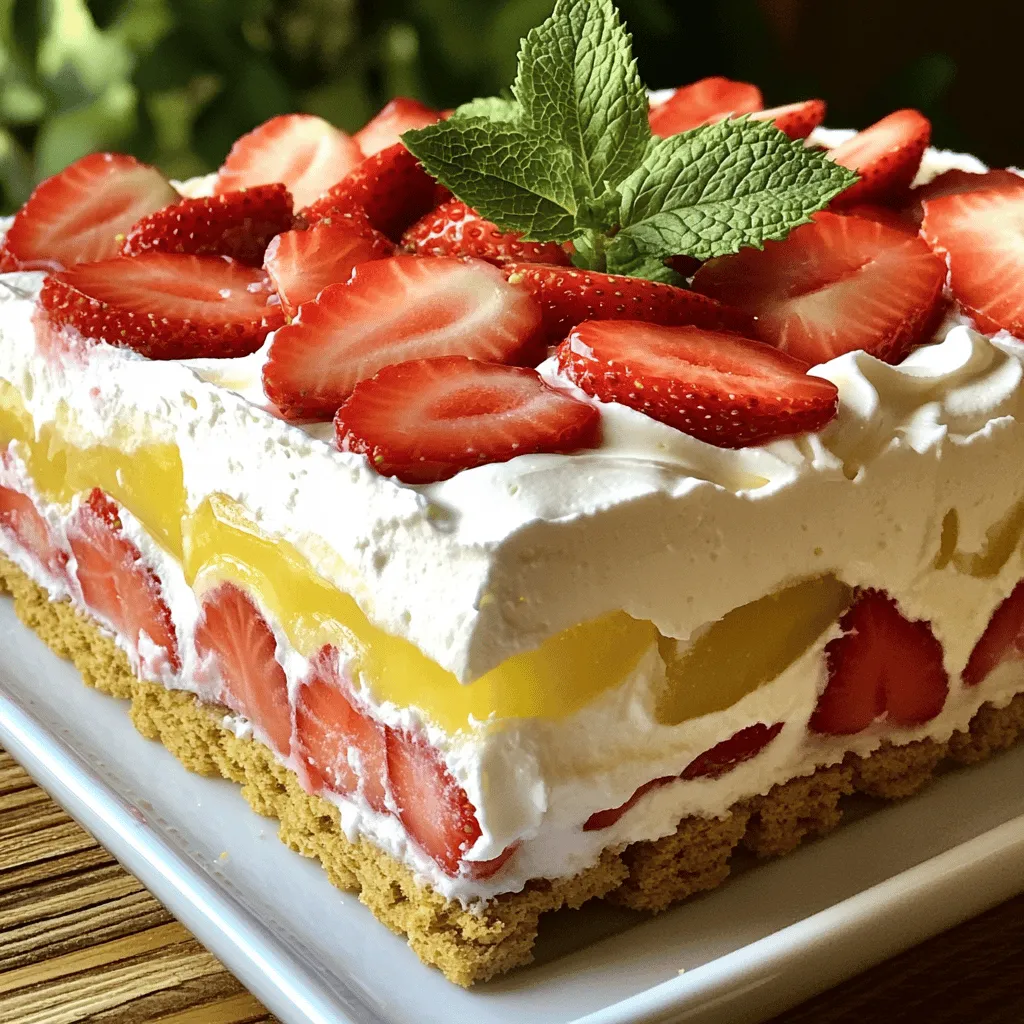
Presentation Enhancements
– Garnishing Techniques: Add fresh mint leaves on top for color. You can also sprinkle more lemon zest for an extra zing.
– Serving Suggestions: Cut into squares or rectangles. Consider serving with a scoop of vanilla ice cream for a delightful treat.
Variations
Alternative Fruit Options
You can switch up the fruit in this cake. Using other berries adds fun flavors. Raspberries, blueberries, or blackberries work well. Each berry gives a unique taste and color. You can mix and match for extra fun!
Adding citrus flavors is another great choice. Think about using oranges or limes. These fruits bring a fresh zing to the cake. Their juices and zests can brighten the dessert. This makes it even more refreshing on hot days.
Gluten-Free Options
If you need a gluten-free option, you can substitute graham crackers. Look for gluten-free graham crackers or cookies. Almond flour cookies also work well as a base. Just make sure they are gluten-free. This keeps the cake tasty for everyone.
Adjusting ingredients is key for gluten-free cakes. You may need to change the ratios a bit. Adding a touch more cream cheese can help hold it together. This way, the cake stays creamy and delicious.
Dietary Adjustments
Making it vegan is simple too. Use coconut cream instead of heavy whipping cream. For cream cheese, try vegan cream cheese. You can also swap out powdered sugar with a vegan alternative. This keeps the sweetness without using animal products.
If you want to reduce sugar, use less powdered sugar in the cream. You can also try natural sweeteners. Maple syrup or agave can add sweetness without the extra sugar. This way, you keep the taste while being health-conscious.
Storage Info
Refrigeration Guidelines
How Long to Keep It Fresh
You can keep your Strawberry Lemon Icebox Cake in the fridge for up to five days. Make sure to cover it tightly with plastic wrap to keep it fresh. The longer it sits, the more the flavors blend together, making it even tastier!
Signs of Spoilage
Watch out for changes in color or texture. If you see mold or it smells off, it’s best to toss it. A slimy texture is also a sign that it has gone bad.
Freezing Strawberry Lemon Icebox Cake
How to Freeze Properly
If you want to save some for later, you can freeze this cake. First, slice the cake into portions. Wrap each piece tightly in plastic wrap and then place them in a freezer bag. This helps prevent freezer burn. The cake can stay frozen for up to three months.
Thawing for Future Enjoyment
To enjoy your frozen cake, take it out and place it in the fridge overnight. This slow thaw keeps the texture nice. If you need it faster, you can leave it out at room temperature for a couple of hours. Just don’t rush it! Enjoy the flavors as they come back to life.
FAQs
What makes an icebox cake?
An icebox cake is a no-bake dessert. It uses layers of cookies or graham crackers. These layers alternate with creamy mixtures. The cake chills in the fridge, which sets everything together. This method keeps the cake light and fresh.
Icebox cakes are perfect for hot days. You don’t need to turn on the oven. Instead, you let the fridge do the work. The flavors blend as the cake cools. This method also keeps the cake moist and tasty.
Can I make this dessert ahead of time?
Yes, you can make this dessert ahead of time. I often prepare it the night before. This way, it has enough time to chill. I recommend at least four hours of chill time.
If you want the best flavor, chill it overnight. The flavors meld better with more time. Plus, it’s ready to serve when you need it. This makes it perfect for parties or gatherings.
How do I serve Strawberry Lemon Icebox Cake?
For serving, cut the cake into squares or rectangles. Use a sharp knife for clean edges. It’s best to serve it cold for a refreshing taste.
You can also add fresh mint leaves on top. They add a pop of color and flavor. This dessert pairs well with whipped cream or ice cream. These pairings enhance the sweet and tart flavors.It includes all the steps and tips you need. The recipe helps ensure your icebox cake turns out perfect. Look for links to related recipes for more options. Explore different flavor combinations to try!
This blog post covered everything you need for a Strawberry Lemon Icebox Cake. You learned about the main and extra ingredients, like strawberries, cream cheese, and graham crackers. I shared step-by-step instructions for preparing, mixing, and assembling the cake. We also discussed tips for perfect whipped cream and how to store leftovers.
Make this dish your own with variations for fruit and diet needs. Remember, this is a no-bake dessert, so it fits well in any occasion. Now, get ready to impress your friends and family with this simple yet delightful treat.